How To Connect Epson XP-620 Printer To Laptop Wireless
How To Connect Epson XP-620 Printer To Laptop Wireless
Epson XP-620 Printer & Laptop - Connecting Without Wires, In this article, you'll find a step-by-step guide that will help you do just that. In this article, we'll give you a step-by-step guide on how to wirelessly print from your Epson XP-620 printer to your laptop. This article will guide you through the process of connecting your Epson XP-620 printer to your laptop wirelessly. This wireless connection is useful because it eliminates the need for wires, which can be obstacles when you're working on a project and have to move your laptop around.

How to wirelessly connect Epson printer XP-620 to laptop
Epson XP-620 is one of the best printers on the market. It can print, scan, copy, and fax documents. But, how to wirelessly connect Epson XP-620 to laptop? Plug in the printer if you have a USB cable or use wireless technology. First, check whether your computer system is compatible with WiFi Direct. Now install the free printer driver for windows 10 from here. Next you need to download and install Epson Connect software (link). Finally choose "Create an Account" and "Add Printer".
WPS push button setup process
The WPS push button setup process is a quick way to set up your printer wirelessly. There are steps for both Windows and Mac computers. To wirelessly print from XP-620 printer to laptop, you need to first install the wireless LAN card on your computer, and then do the following:
1. Press the WPS push button setup process on the printer to put it into WPS mode.
2. Select "Wireless Settings" from the menu of your XP-620 printer driver window, and then tap "WPS Push Button Setup" in the list of procedures on your touch screen monitor. And lastly, select the AP (Access Point) you want to set up with.
3. On your computer, press "Next" or "OK" when needed during setup and continue until finished.
4. Your XP-620 printer and computer are now paired so that they may work together wirelessly
5. Now you can print wirelessly from your XP-620 printer to laptop!
Steps for wireless printing from XP-620 with Windows 10 operating system
1. Download the "Brother Printer Assistant for Windows 10" and install it on your laptop
2. Launch the Brother Printer Assistant
3. Click "Wireless Setup" and follow the prompts to complete the setup
Connect your printer to the wireless network. Install How to troubleshoot printer issues? Assistant software on your laptop. Connect to the network and enter WiFi password, which you received on printer's screen. Click Scan for Printers. Your XP-620 should be in the list of detected printers. Select it and click Next. Enter IP address for printer and click Next again.
Wireless printing from XP-620 without router
Though most wireless printers are set up to connect with a router, XP-620 is different. It uses "Wi-Fi Direct," which means that the printer and laptop can be connected without a router. To do this, first make sure you have Wi-Fi enabled on your laptop and then press the wireless button on the XP-620 printer's control panel. Open the settings menu on your laptop and select "Connect to Printer" from the available options. The two devices will now be connected wirelessly. Now you can browse through your laptop's hard drive and complete any printing tasks desired.
Setting up wireless printing from XP-620 with Mac OS operating system
-Download print driver from Lexmark website, drag the file to Applications folder
-Connect printer to laptop with a USB cable
-Open System Preferences and select Printers & Scanners
-Select Add, then select Lexmark Printer from the list that pops up.
-Choose 'Select printer by name or IP address' and enter the IP address of the wireless XP-620
-Click Continue
-Enter username and password if prompted
-Printing wirelessly should now be set up
Conclusion
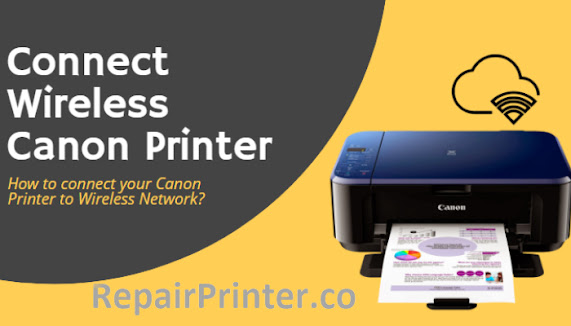
To learn how to Connecting Canon printer to the wireless network, follow these steps: 1. Insert the battery into the printer and connect to the power supply
2. Connect one end of the USB cable to the USB port on the printer (A) and connect the other end to a free USB port on your laptop (B)
3. Press and release the wireless button (C) once before pressing it again for 2 seconds
4. You should see a wireless icon on your laptop screen


Comments
Post a Comment